Smart doorbells are quickly becoming a staple in modern home security. With the ability to monitor your front door in real-time, receive motion alerts, and even interact with visitors remotely, installing one can significantly enhance both your safety and convenience. This guide will walk you through the quick and easy installation of your smart doorbell — no technical skills required.
Why Choose a Smart Doorbell?
Smart doorbells combine video surveillance, motion detection, two-way audio, and mobile connectivity. Benefits include:
- Remote Monitoring: See who’s at your door from anywhere.
- Enhanced Security: Deter potential intruders with visible cameras.
- Package Theft Prevention: Keep an eye on deliveries and deter porch pirates.
- Visitor Management: Talk to visitors through your phone without opening the door.
Tools You’ll Need
Before you begin, gather the following:
- Smart doorbell unit (e.g., Ring, Nest, Eufy)
- Wi-Fi connection
- Smartphone with the manufacturer’s app installed
- Screwdriver (or drill if mounting on concrete or brick)
- Screws and anchors (usually included with the doorbell)
- Optional: Voltage tester if connecting to existing doorbell wiring
Step-by-Step Installation Guide
1. Choose the Right Location
Install the doorbell at chest height, near your front door, where it has a clear view of your entryway. Ensure it’s close enough to your Wi-Fi router for a stable connection.
2. Power Options: Battery or Hardwired
- Battery-powered models are easier to install and ideal for renters.
- Wired models use existing doorbell wiring and offer continuous power.
Check your manufacturer’s guide for voltage requirements and wiring diagrams.
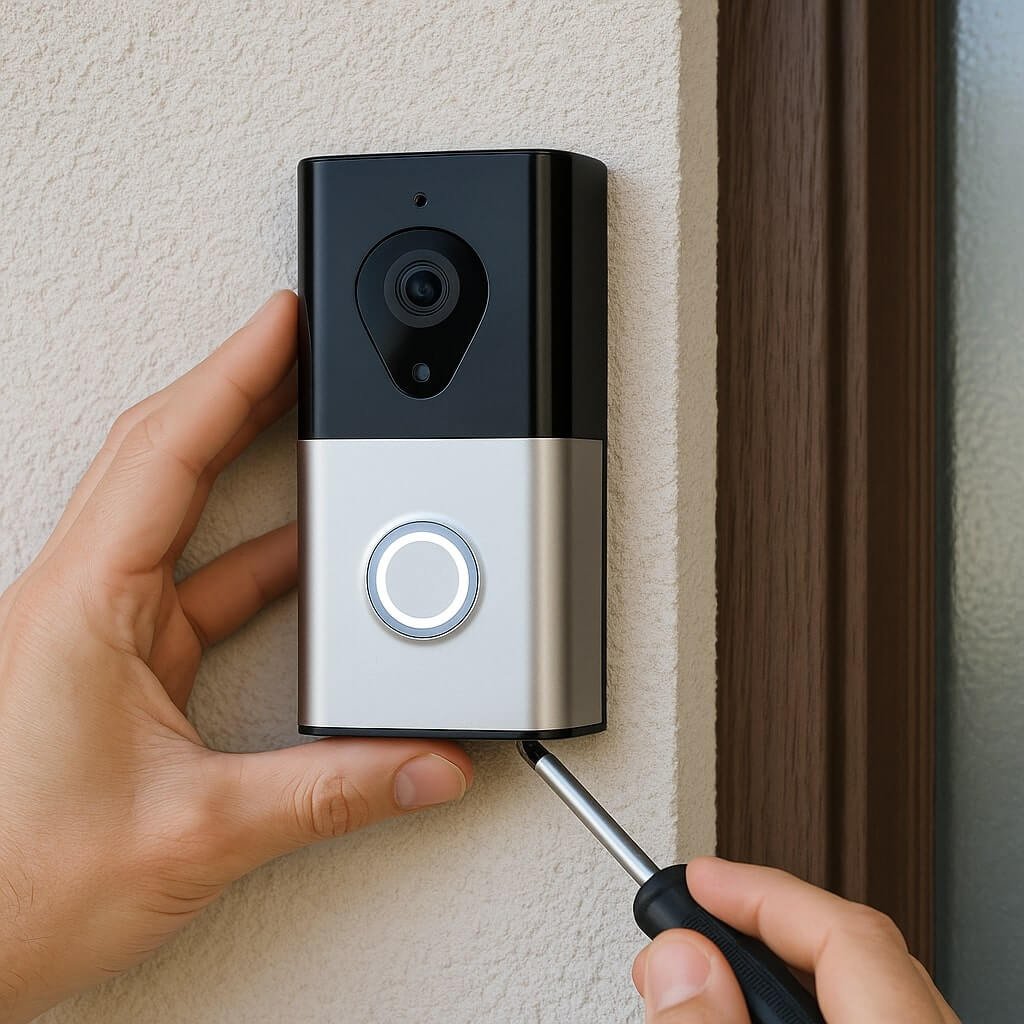
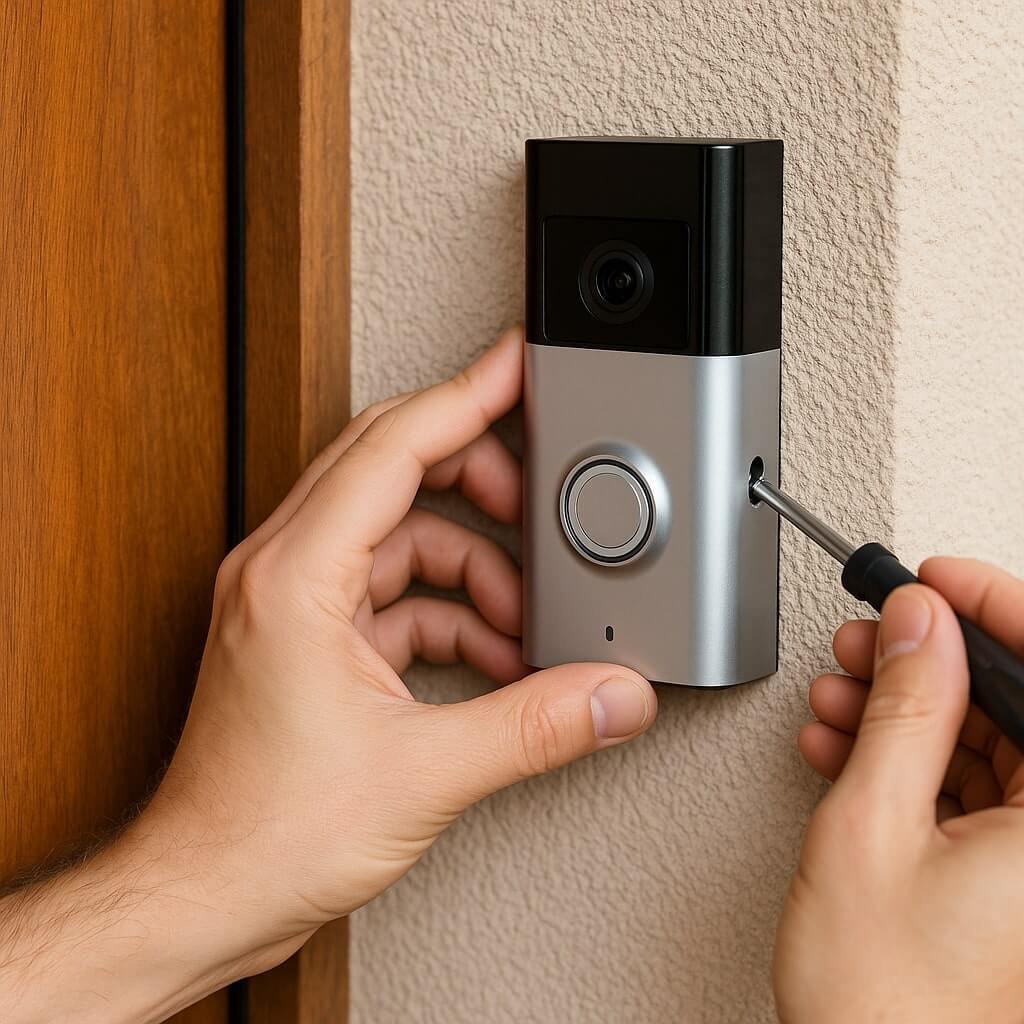
3. Mount the Doorbell
- Mark the screw holes using the mounting bracket.
- Drill holes and insert wall anchors (if required).
- Attach the bracket securely using screws.
- Snap the smart doorbell into place.
4. Connect to Wi-Fi
Open the mobile app and follow the on-screen setup instructions to connect the doorbell to your home Wi-Fi. This typically involves scanning a QR code on the device.
5. Configure Settings
Once connected, you can:
- Set motion zones
- Enable motion alerts
- Customise notification settings
- Integrate with other smart home devices
Maintenance Tips
- Regularly check battery levels (for wireless models).
- Keep the camera lens clean for clear video.
- Update firmware through the app to maintain security.
Troubleshooting Common Issues
Wi-Fi Connection Dropping?
- Move your router closer or use a Wi-Fi extender.
Not Receiving Notifications?
- Check app permissions and enable push notifications.
Poor Video Quality?
- Ensure your internet upload speed is at least 2 Mbps.
Frequently Asked Questions (FAQs)
How long does it take to install a smart doorbell?
Most installations take 10–20 minutes, depending on whether it’s wired or wireless.
Can I install a smart doorbell without existing doorbell wiring?
Yes, battery-powered smart doorbells don’t require existing wiring and are easy to mount anywhere.
Is a professional installation necessary?
Not at all. The process is DIY-friendly with simple tools and guided mobile apps.
Do smart doorbells work with Alexa or Google Assistant?
Yes, most models support voice assistant integration for live view and motion alerts.
Will my doorbell work at night?
Yes. Smart doorbells feature infrared night vision for 24/7 coverage.
What happens if my internet goes out?
The doorbell may still record locally (if it has onboard storage) but won’t send live notifications until your connection is restored.
Conclusion
Installing a smart doorbell is one of the fastest, most effective upgrades you can make to your home’s security system. With this easy-to-follow guide, you can enjoy peace of mind, smarter access control, and the convenience of monitoring your front door in minutes.


